Nikon F5 Instruction Manual: A Comprehensive Guide
Welcome! This comprehensive guide unlocks the full potential of your Nikon F5, offering detailed instructions and insights for optimal performance and enjoyment.
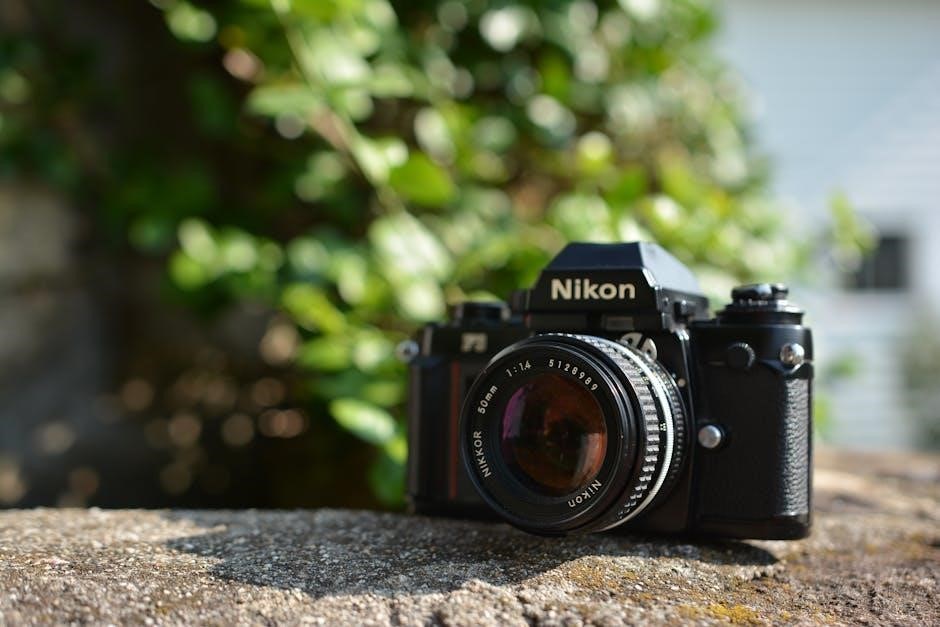
The Nikon F5 represents a pinnacle of 35mm film SLR technology, renowned for its robust build quality, advanced features, and exceptional performance. This manual serves as your dedicated companion, guiding you through every aspect of operating this iconic camera. Whether you’re a seasoned professional or exploring film photography for the first time, the F5 offers a versatile and rewarding experience.
We’ll explore its intricate functionalities, from basic operation to advanced customization. This guide aims to empower you to confidently capture stunning images, leveraging the F5’s capabilities to their fullest extent. Prepare to delve into a world of photographic possibilities!
Key Features and Specifications

The Nikon F5 boasts a remarkable array of features, including a 45-point Multi-CAM 4 autofocus system, ensuring pinpoint accuracy even with fast-moving subjects. It offers five cross-type sensors for enhanced tracking. Its advanced Matrix metering system delivers consistently accurate exposures in diverse lighting conditions. The camera supports continuous shooting at up to 5 frames per second.
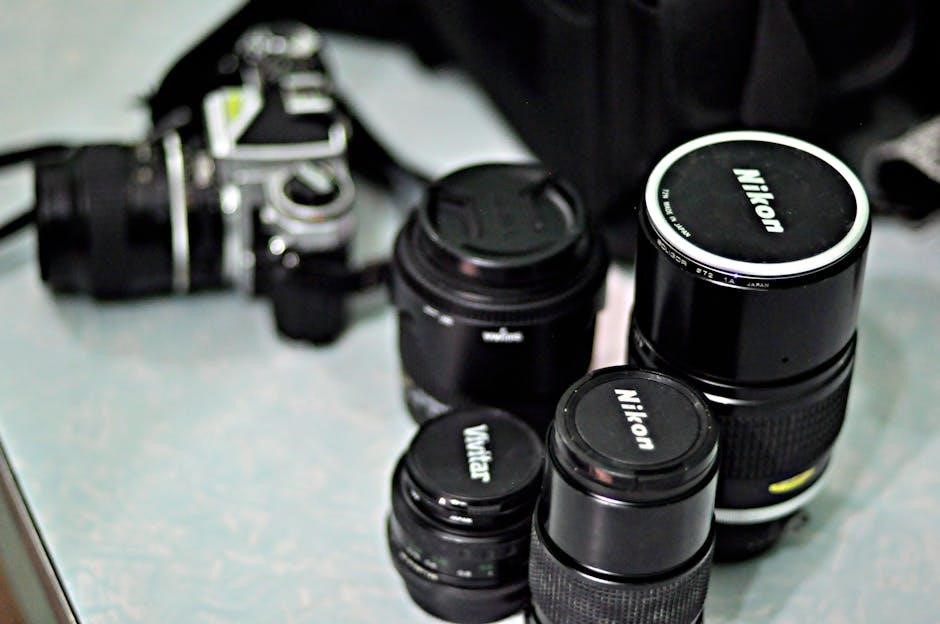
Key specifications include compatibility with DX-coded lenses, a robust titanium body, and multiple custom functions for personalized control. It accepts various Nikon F-mount lenses, providing exceptional versatility. The F5 is a truly professional-grade tool.
Understanding the Camera Body
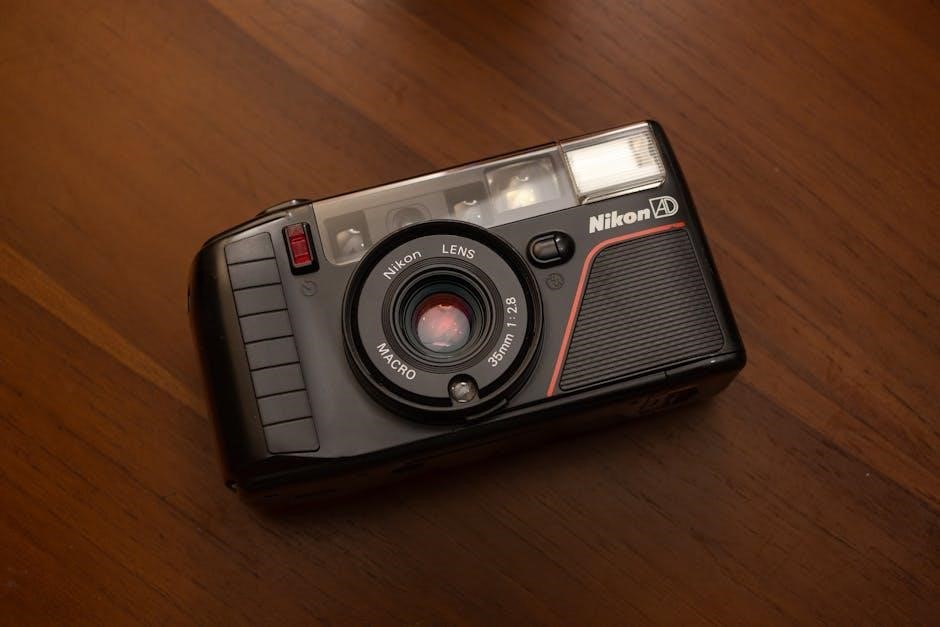
The Nikon F5’s body is engineered for durability and comfortable handling, constructed with a robust titanium alloy. Its ergonomic design provides a secure grip, even during extended shooting sessions. The camera features a comprehensive array of buttons and dials, intuitively positioned for quick access to essential settings. Familiarize yourself with the location of the shutter release, mode dial, and control dials.
The top deck houses the LCD panel displaying shooting information. The rear panel provides access to autofocus and metering controls. Understanding this layout is crucial for efficient operation.
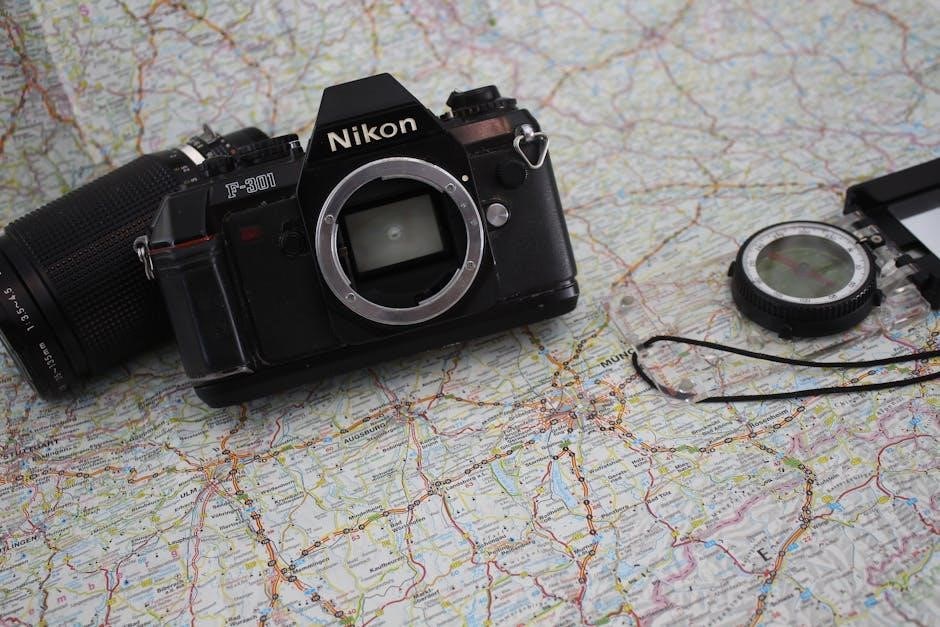
Front and Rear Views – Component Identification
On the front, locate the lens mount, self-timer/mirror lock-up button, and depth-of-field preview lever. The infrared remote receiver is also positioned here. Turning to the rear, identify the LCD panel displaying shooting data, the diopter adjustment dial for viewfinder clarity, and the autofocus mode selector.
Further rear components include the metering mode selector, exposure compensation dial, and the rewind button. Understanding each component’s function is vital for mastering the F5’s capabilities and achieving desired photographic results.
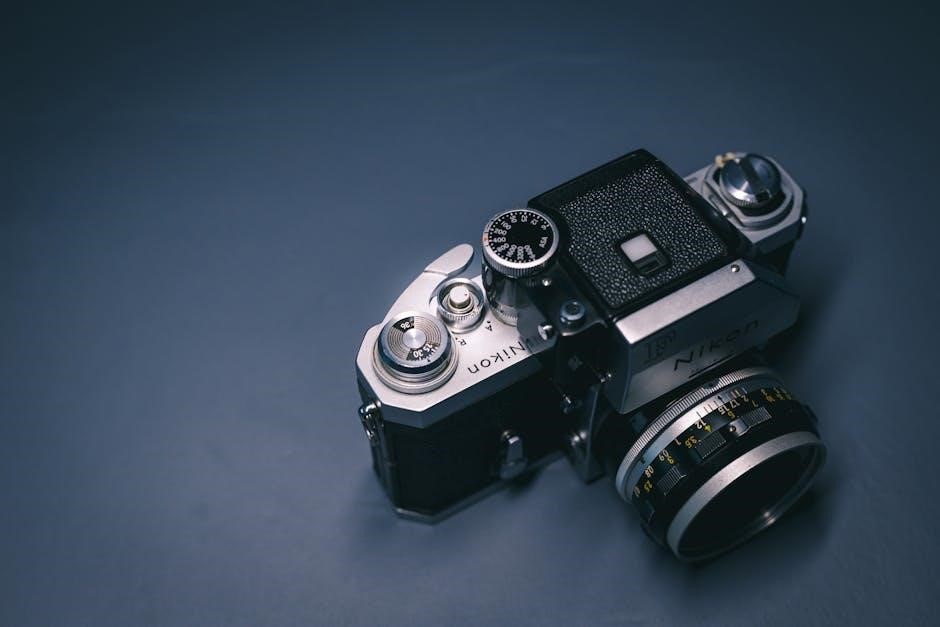
Top and Bottom Views – Control Layout
The top deck houses the main command dial for adjusting settings, the shutter speed dial, and the ISO setting dial. You’ll also find the film advance lever, the shutter release button, and the film rewind crank. On the bottom, locate the battery compartment and the tripod socket for stable shooting.
Careful examination reveals the film chamber release and the connector panel. Familiarizing yourself with this layout streamlines operation, allowing quick access to essential controls during dynamic shooting scenarios, enhancing your photographic workflow.
Setting Up the Nikon F5
Initial setup is crucial for optimal performance. Begin by installing batteries in the designated compartment – the F5 typically uses AA batteries. Next, insert a compatible memory card (if utilizing optional features) into the appropriate slot.
Setting the date, time, and language is essential for accurate metadata. Navigate through the camera’s menu system using the control dials to access these settings and customize them to your preferences. Proper setup ensures correct image labeling and organization from the start.
Installing Batteries and Memory Cards
Powering the F5 requires careful battery installation. Open the battery compartment, typically located at the bottom of the camera. Insert AA batteries, observing correct polarity as indicated inside the compartment. Ensure they click securely into place.
Memory card insertion (for optional features) involves locating the designated slot. Gently insert a compatible card until it locks. The F5 supports various card types, enhancing storage capabilities. Always power off the camera before battery or card installation to prevent potential damage.
Setting the Date, Time, and Language
Initial setup of your Nikon F5 includes configuring the date, time, and preferred language. Access the setup menu via the camera’s controls. Navigate to the date/time settings and use the dials to accurately input the current date and time.
Language selection allows personalization. Choose your desired language from the available options within the menu. Confirm your selections to save the settings. Accurate date and time are crucial for correct EXIF data recording with each photograph taken.
Shooting Modes Explained
The Nikon F5 offers versatile shooting modes to suit various photographic scenarios. Single (S) mode captures one image with each press of the shutter button, ideal for static subjects. Continuous (C) mode enables rapid-fire shooting, perfect for action and sports photography, capturing multiple frames per second.
Low-Speed Continuous (CL) provides a balance, offering a faster rate than single shooting but slower than full continuous, conserving battery life. Understanding these modes empowers you to capture the perfect shot, adapting to dynamic situations effectively.
Single Shooting Mode (S)
In Single Shooting Mode (S), the Nikon F5 captures one photograph each time the shutter release button is fully pressed. This mode is exceptionally well-suited for portraiture, landscape photography, and any situation where your subject remains stationary. It allows for precise framing and composition before each shot, ensuring optimal focus and clarity.
The camera will not begin capturing another image until the shutter button is released and pressed again, providing deliberate control. This mode conserves battery power and memory card space, making it efficient for extended shooting sessions.
Continuous Shooting Mode (C)
Continuous Shooting Mode (C) on the Nikon F5 enables rapid-fire image capture at up to 5.5 frames per second. This mode is ideal for photographing fast-moving subjects like sports, wildlife, or children. Holding down the shutter release button will continuously capture images until either the shutter button is released or the memory card is full.
Utilizing the camera’s buffer memory, the F5 can capture a burst of images before slowing down. This mode requires sufficient battery power and a fast memory card to maximize performance and minimize delays between shots.
Low-Speed Continuous Shooting Mode (CL)
Low-Speed Continuous (CL) mode on the Nikon F5 offers a slower, yet controlled, burst of images at approximately 3 frames per second. This mode is beneficial when you need to capture a sequence of shots without overwhelming the camera’s buffer or exhausting battery life as quickly as in ‘C’ mode.
CL mode is particularly useful for subjects with predictable movement or when a slightly slower frame rate is sufficient. It provides a balance between capturing action and maintaining efficient camera operation, extending shooting sessions.
Autofocus System – Mastering the AF Modes
The Nikon F5’s autofocus system is renowned for its speed and accuracy, offering a range of modes to suit diverse shooting scenarios. Understanding these modes is crucial for consistently sharp images. The F5 provides Single-Area AF, ideal for stationary subjects, allowing precise focus point selection. Dynamic-Area AF tracks moving subjects, adjusting focus points as needed.
Group-Area AF utilizes a cluster of focus points, enhancing tracking for erratic movement. Mastering these AF modes, alongside focus lock and back-button focus techniques, unlocks the F5’s full potential.
Single-Area AF
Single-Area AF is the most basic, yet powerful, autofocus mode on the Nikon F5. It allows you to select a single focus point within the viewfinder, directing the camera to prioritize focus on that specific area. This mode excels when photographing stationary subjects where precise focus is paramount, like portraits or landscapes.
To utilize it, select the desired focus point using the directional buttons. The camera will lock focus on that point and maintain it until you recompose or half-press the shutter button again. It’s ideal for controlled shooting environments.
Dynamic-Area AF
Dynamic-Area AF on the Nikon F5 offers enhanced tracking capabilities for moving subjects. You initially select a focus point, but if the subject briefly moves away from that point, the camera intelligently utilizes surrounding focus points to maintain lock. This mode is perfect for sports or wildlife photography where subjects exhibit unpredictable movement.

The F5 offers several Dynamic-Area settings, controlling the number of surrounding focus points engaged. Higher settings provide broader tracking, while lower settings offer more precision. Experiment to find the optimal setting for your specific shooting scenario and subject’s speed.
Group-Area AF
Group-Area AF on the Nikon F5 is designed for subjects that are difficult to isolate with a single focus point, or when quick acquisition is crucial. This mode utilizes a pre-defined cluster of focus points to detect and track the subject. It’s particularly effective for photographing small, fast-moving objects or subjects against complex backgrounds.
The F5 allows you to select different group sizes, influencing the area the camera focuses on. Larger groups are better for rapidly acquiring moving targets, while smaller groups offer increased accuracy. This mode balances speed and precision, making it versatile for various shooting situations.
Metering Modes – Achieving Correct Exposure
The Nikon F5 offers three primary metering modes to ensure accurate exposure in diverse lighting conditions: Matrix, Center-Weighted, and Spot. Matrix metering analyzes the entire frame, ideal for general scenes with balanced lighting. Center-Weighted metering prioritizes the center of the frame, suitable when the main subject is centrally located.

Spot metering measures light from a very small area, perfect for challenging situations like backlit subjects or high-contrast scenes. Understanding each mode and when to apply it is crucial for consistently achieving well-exposed photographs with your F5.
Matrix Metering
Nikon’s Matrix metering system, a hallmark of the F5, analyzes the entire scene through the lens, dividing it into segments and comparing light values. This sophisticated process calculates an exposure based on the overall scene brightness and color distribution. It’s remarkably effective in most situations, particularly those with even or moderately complex lighting.
For general photography, Matrix metering is the recommended starting point. The F5’s advanced algorithm handles many scenarios automatically, delivering consistently accurate exposures. However, be mindful in extreme lighting – adjustments may still be needed.
Center-Weighted Metering
Center-weighted metering on the Nikon F5 prioritizes exposure readings from the central area of the frame, gradually decreasing sensitivity towards the edges. This mode is particularly useful when your subject is centrally located and you want to ensure it’s properly exposed, even against a brighter or darker background.
It’s a good choice for portraits or subjects where accurate central exposure is critical. While less sophisticated than Matrix metering, it offers more control in specific situations, allowing you to override the camera’s overall scene assessment.
Spot Metering
Spot metering on the Nikon F5 concentrates exposure measurement on a very small area – approximately 2.5% of the frame – centered on the active focus point. This provides the most precise exposure reading for a specific subject detail, ignoring the surrounding scene.
Ideal for challenging lighting, like backlit subjects or scenes with high contrast, spot metering allows you to directly expose for the crucial element. Mastering this mode requires careful aiming and understanding of the scene’s tonal range for consistently accurate results.
Exposure Control – Aperture, Shutter Speed, and ISO
The Nikon F5 offers full manual control alongside aperture-priority (A) and shutter-priority (S) modes, granting photographers complete creative authority. Aperture controls depth of field, while shutter speed dictates motion blur. Understanding their interplay is crucial for achieving desired effects.
ISO sensitivity adjusts the camera’s light sensitivity; lower ISOs offer cleaner images, while higher ISOs enable shooting in low light. The F5’s robust controls allow seamless adjustments, empowering you to master exposure in any situation and capture stunning images.
Aperture Priority Mode (A)
In Aperture Priority (A) mode on the Nikon F5, you select the desired aperture (f-stop), controlling depth of field – the area in focus. The camera automatically sets the shutter speed for proper exposure. This is ideal for portraits, landscapes, or situations where depth of field is paramount.
Experimenting with apertures allows creative control over image aesthetics. Wider apertures (lower f-numbers) create shallow depth of field, isolating subjects, while narrower apertures (higher f-numbers) maximize sharpness throughout the scene. The F5 provides precise aperture control for artistic expression.
Shutter Priority Mode (S)
Shutter Priority (S) mode on the Nikon F5 empowers you to dictate the shutter speed, controlling motion blur. The camera then automatically adjusts the aperture to achieve correct exposure. This mode excels in capturing fast-action sports, freezing movement, or intentionally blurring motion for artistic effect.
Faster shutter speeds (e.g., 1/500s, 1/1000s) freeze action, while slower speeds (e.g., 1/30s, 1/60s) introduce motion blur. The F5’s robust shutter mechanism ensures accurate and reliable performance across a wide range of shutter speeds, offering creative flexibility.
Manual Mode (M)
Manual (M) mode grants you complete creative control over both aperture and shutter speed on the Nikon F5. This mode is ideal for challenging lighting situations where automatic modes may struggle, or when a specific look is desired. You independently set both values, relying on the camera’s metering system as a guide.
Experienced photographers often prefer Manual mode for its precision. It demands a thorough understanding of the exposure triangle – aperture, shutter speed, and ISO – to achieve desired results. The F5’s clear display assists in visualizing exposure adjustments.
Advanced Features and Customization
The Nikon F5 boasts a wealth of advanced features designed for professional photographers. Custom Functions allow you to personalize the camera’s operation to suit your shooting style, reassigning controls for quicker access. Depth of Field Preview enables you to visualize the area in focus before taking the shot, crucial for landscape and portrait work.
Furthermore, the F5 offers versatile Self-Timer and Remote Control Options, expanding creative possibilities. These features, combined with its robust build and extensive customization, make the F5 a truly adaptable tool.
Custom Functions – Personalizing Your F5
The Nikon F5’s Custom Functions are a powerful tool for tailoring the camera to your specific needs. These functions allow you to modify the behavior of various controls and settings, optimizing workflow. You can reassign buttons, adjust autofocus behavior, and customize the information displayed in the viewfinder.
Accessing these settings through the menu system unlocks a level of personalization rarely found in film cameras. Experimenting with these options will significantly enhance your shooting experience, making the F5 a truly extension of your creative vision.
Depth of Field Preview
The Nikon F5 features a Depth of Field Preview lever, crucial for visually assessing the area in focus at your chosen aperture. Engaging this lever stops down the lens to the selected f-stop, allowing you to preview the resulting depth of field directly through the viewfinder.
This is particularly useful for landscape and portrait photography, ensuring critical elements are sharp. Remember that the viewfinder image will darken when the preview is activated. Utilize this function to refine focus and achieve desired creative effects.
Self-Timer and Remote Control Options
The Nikon F5 offers versatile timing options. The self-timer, selectable for 2, 5, or 10-second delays, is ideal for self-portraits or situations requiring camera stability. Access it via the drive mode dial. For more complex scenarios, the F5 supports remote shutter release via the optional MC-E2 remote cord or the WR-T1 wireless remote.
These remote options minimize camera shake during long exposures and allow for creative control. Explore these features to expand your photographic possibilities and achieve professional results.
Maintenance and Troubleshooting
Regular maintenance ensures your Nikon F5’s longevity. Gently clean the camera body and lenses with a soft, dry cloth. Avoid harsh chemicals or excessive moisture. For stubborn dust, use a blower. If the viewfinder appears dim, check the diopter adjustment. Should the camera fail to power on, verify battery installation and contact integrity.
Common issues like error messages often indicate a mechanical or electrical fault; consult the full manual or a qualified technician. Proper care and prompt attention to problems will keep your F5 performing optimally.
Cleaning the Camera and Lenses
Maintaining pristine optics is crucial for image quality. Use a soft brush to remove loose dust from both the camera body and lenses. For fingerprints or smudges on the lens, employ lens cleaning tissue and a dedicated lens cleaning solution – apply solution to the tissue, not directly to the lens.
Avoid abrasive cleaners. Gently wipe in a circular motion. The camera body can be cleaned with a slightly damp, lint-free cloth. Never immerse the camera in liquid. Regular, gentle cleaning prevents buildup and ensures optimal performance.
Common Issues and Solutions
Error messages on the LCD often indicate battery issues or memory card problems; ensure proper installation and sufficient charge. If the shutter doesn’t release, check the shooting mode dial and ensure the camera isn’t in a locked position. Autofocus malfunctions can sometimes be resolved by cleaning the autofocus sensors with a blower.
For unresponsive buttons, try resetting the custom functions. If issues persist, consult the Nikon support website or a qualified repair technician. Avoid attempting complex repairs yourself to prevent further damage;